
How to Curl Your Hair with a Flat Iron.
One of the most frequent questions we get from clients is “how do I curl my hair with a flat iron?” With the right tools and techniques, it’s easy to do at home!
Here’s what you’ll need:
A scrunchie to section hair
A flat iron
A wide tooth comb
Sea salt spray for after the hair is curled, to add texture and movement.
Step 1: Section your hair
(Starts at 0:31 of the video)
Begin by gathering the top section of your hair. Start with your thumbs sitting where the top of your ears meet your head. Then drag your thumbs straight backwards to collect all the hair above, and secure it with a scrunchie.
Step 2: Start curling your hair
(Starts at 0:37 of the video)
Starting on one side of your head, gather sections of hair about 1-2” in size. With the flat iron facing down, twist away from your face while curling in a smooth motion. Release the curl when you reach the end of the hair. You can twist the curl with your hands once the hair is loose to further lock in the curl shape.
Step 3: Work your way around your head
(Starts at 0:54 of the video)
Continue curling this way until you’ve reached the back of your head and one side is curled. Then, move to the opposite side and curl in the same way, but in the opposite direction: with flat iron pointed down, and twisting away from your face.
Step 4: Create a new section
(Starts at 0:59 of the video)
Release your hair held up by the scrunchie, and section a new portion of hair from your temples straight to the back of your head. Secure this new, smaller section with the scrunchie. The hair you have released will give you another layer of straight hair to curl.
Step 5: Curl the new section
(Starts at 1:09 of the video)
Repeat steps 2 and 3 for the new section of hair, working both sides from the front to the back, and twisting the curls away from your face.
Step 6: Prepare the top section
(Starts at 1:37 of the video)
Here’s one of the key parts of curling your hair with a flat iron: the top section! The top section is the hardest part to get right, because you don’t want to overdo the curls. To curl this section, begin by taking out your scrunchie and letting down the top section of your hair. Next, make sure that your hair is parted in the way that you like to wear it before beginning the curls.
Step 7: Curl the top front sections
(Starts at 2:10 of the video)
When you’re curling the top section of your hair, you want to give your hair a gentler curl (or in other words, less curl.) Two techniques to do this are to take slightly larger sections of hair to curl at a time, and to twist the flat iron slightly less than you did on the bottom sections. Remember, more rotations of the flat iron = tighter curls, so you want to loosen it up for this top section. Start curling at the front and work backwards on one side, using the same technique as before, but slightly modified for gentler curls. Leave the very back of your hair for the next step.
Step 8: Curl the top back sections
(Starts at 2:39 of the video)
When you get to the back of your head, pull sections of hair to curl straight out to the side. This time, curl the hair in an upwards motion. You can do this by holding the flat iron at the same angle as the floor, clamping the hair, and then twisting the flat iron away from your head and upwards. This slight adjustment is the trick to achieving that beachy, soft shape.
Step 9: Gently comb your curls
(Starts at 3:01 of the video)
With a wide tooth comb, gently comb through your curls. This softens the curl and gives you a more natural look.
Step 10: finish with Eleven Australia’s Sea Salt Texture Spray
(Starts at 3:15 of the video)
Use a small amount of texture spray to hold your curls and give them that beachy wave effect.
And there you go, the perfect flat iron curls!
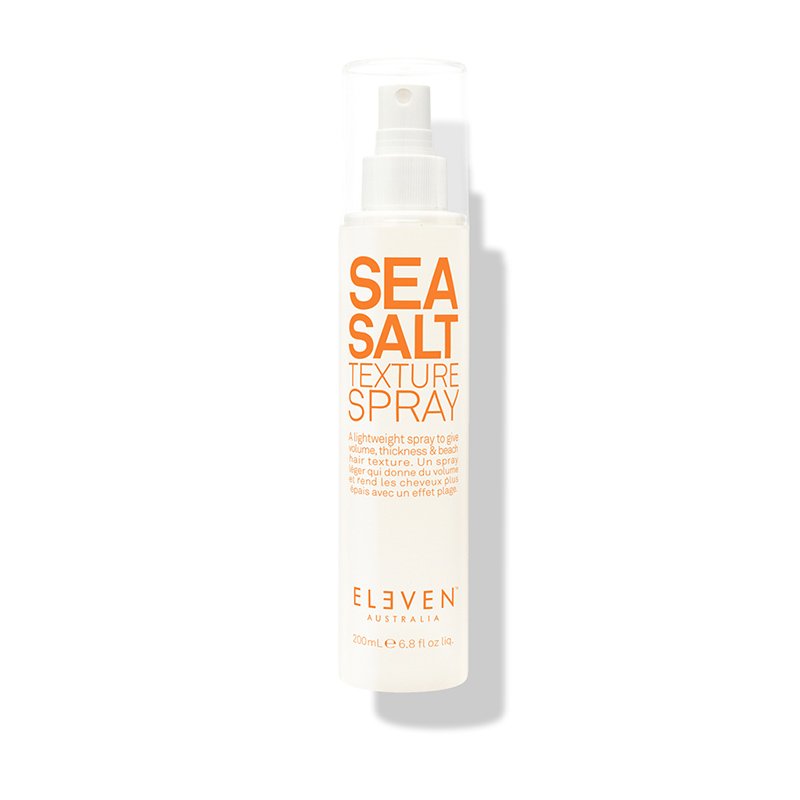
Sea Salt Texture Spray is an effortless styling product. The combination of protein and Sea Salt gives hair volume and gritty texture, but without the crunch. Use this product for perfect ‘beach hair’ while keeping a natural bounce and structure.
Tips for choosing a flat iron
Not all flat irons are created equal! It’s important to choose a good quality flat iron to minimize heat damage to your hair. A flat iron with infrared heat is ideal, as this kind of heat minimizes damage by retaining hair’s moisture. One that emits negative ions is also a plus, as this reduces static and frizz. Another key for choosing a flat iron is temperature control, as you can manually adjust your iron to the correct temperature for your hair, and you won’t damage your hair with excessive heat.
What temperature should I set my flat iron to?
If you have fine or damaged hair, try setting your iron at 250° F. If that doesn’t work for achieving a curl that lasts, you can go up to 300° F.
If you have medium hair, try experimenting with a range in temperature between 300° F and 350° F. If your hair has texture, you may need to adjust the temperature slightly hotter.
If you have thick and textured hair, you will probably find a good setting for your hair around 400° F. You can go slightly lower if your hair is damaged, or slightly higher if you’re not achieving the lasting results you want.
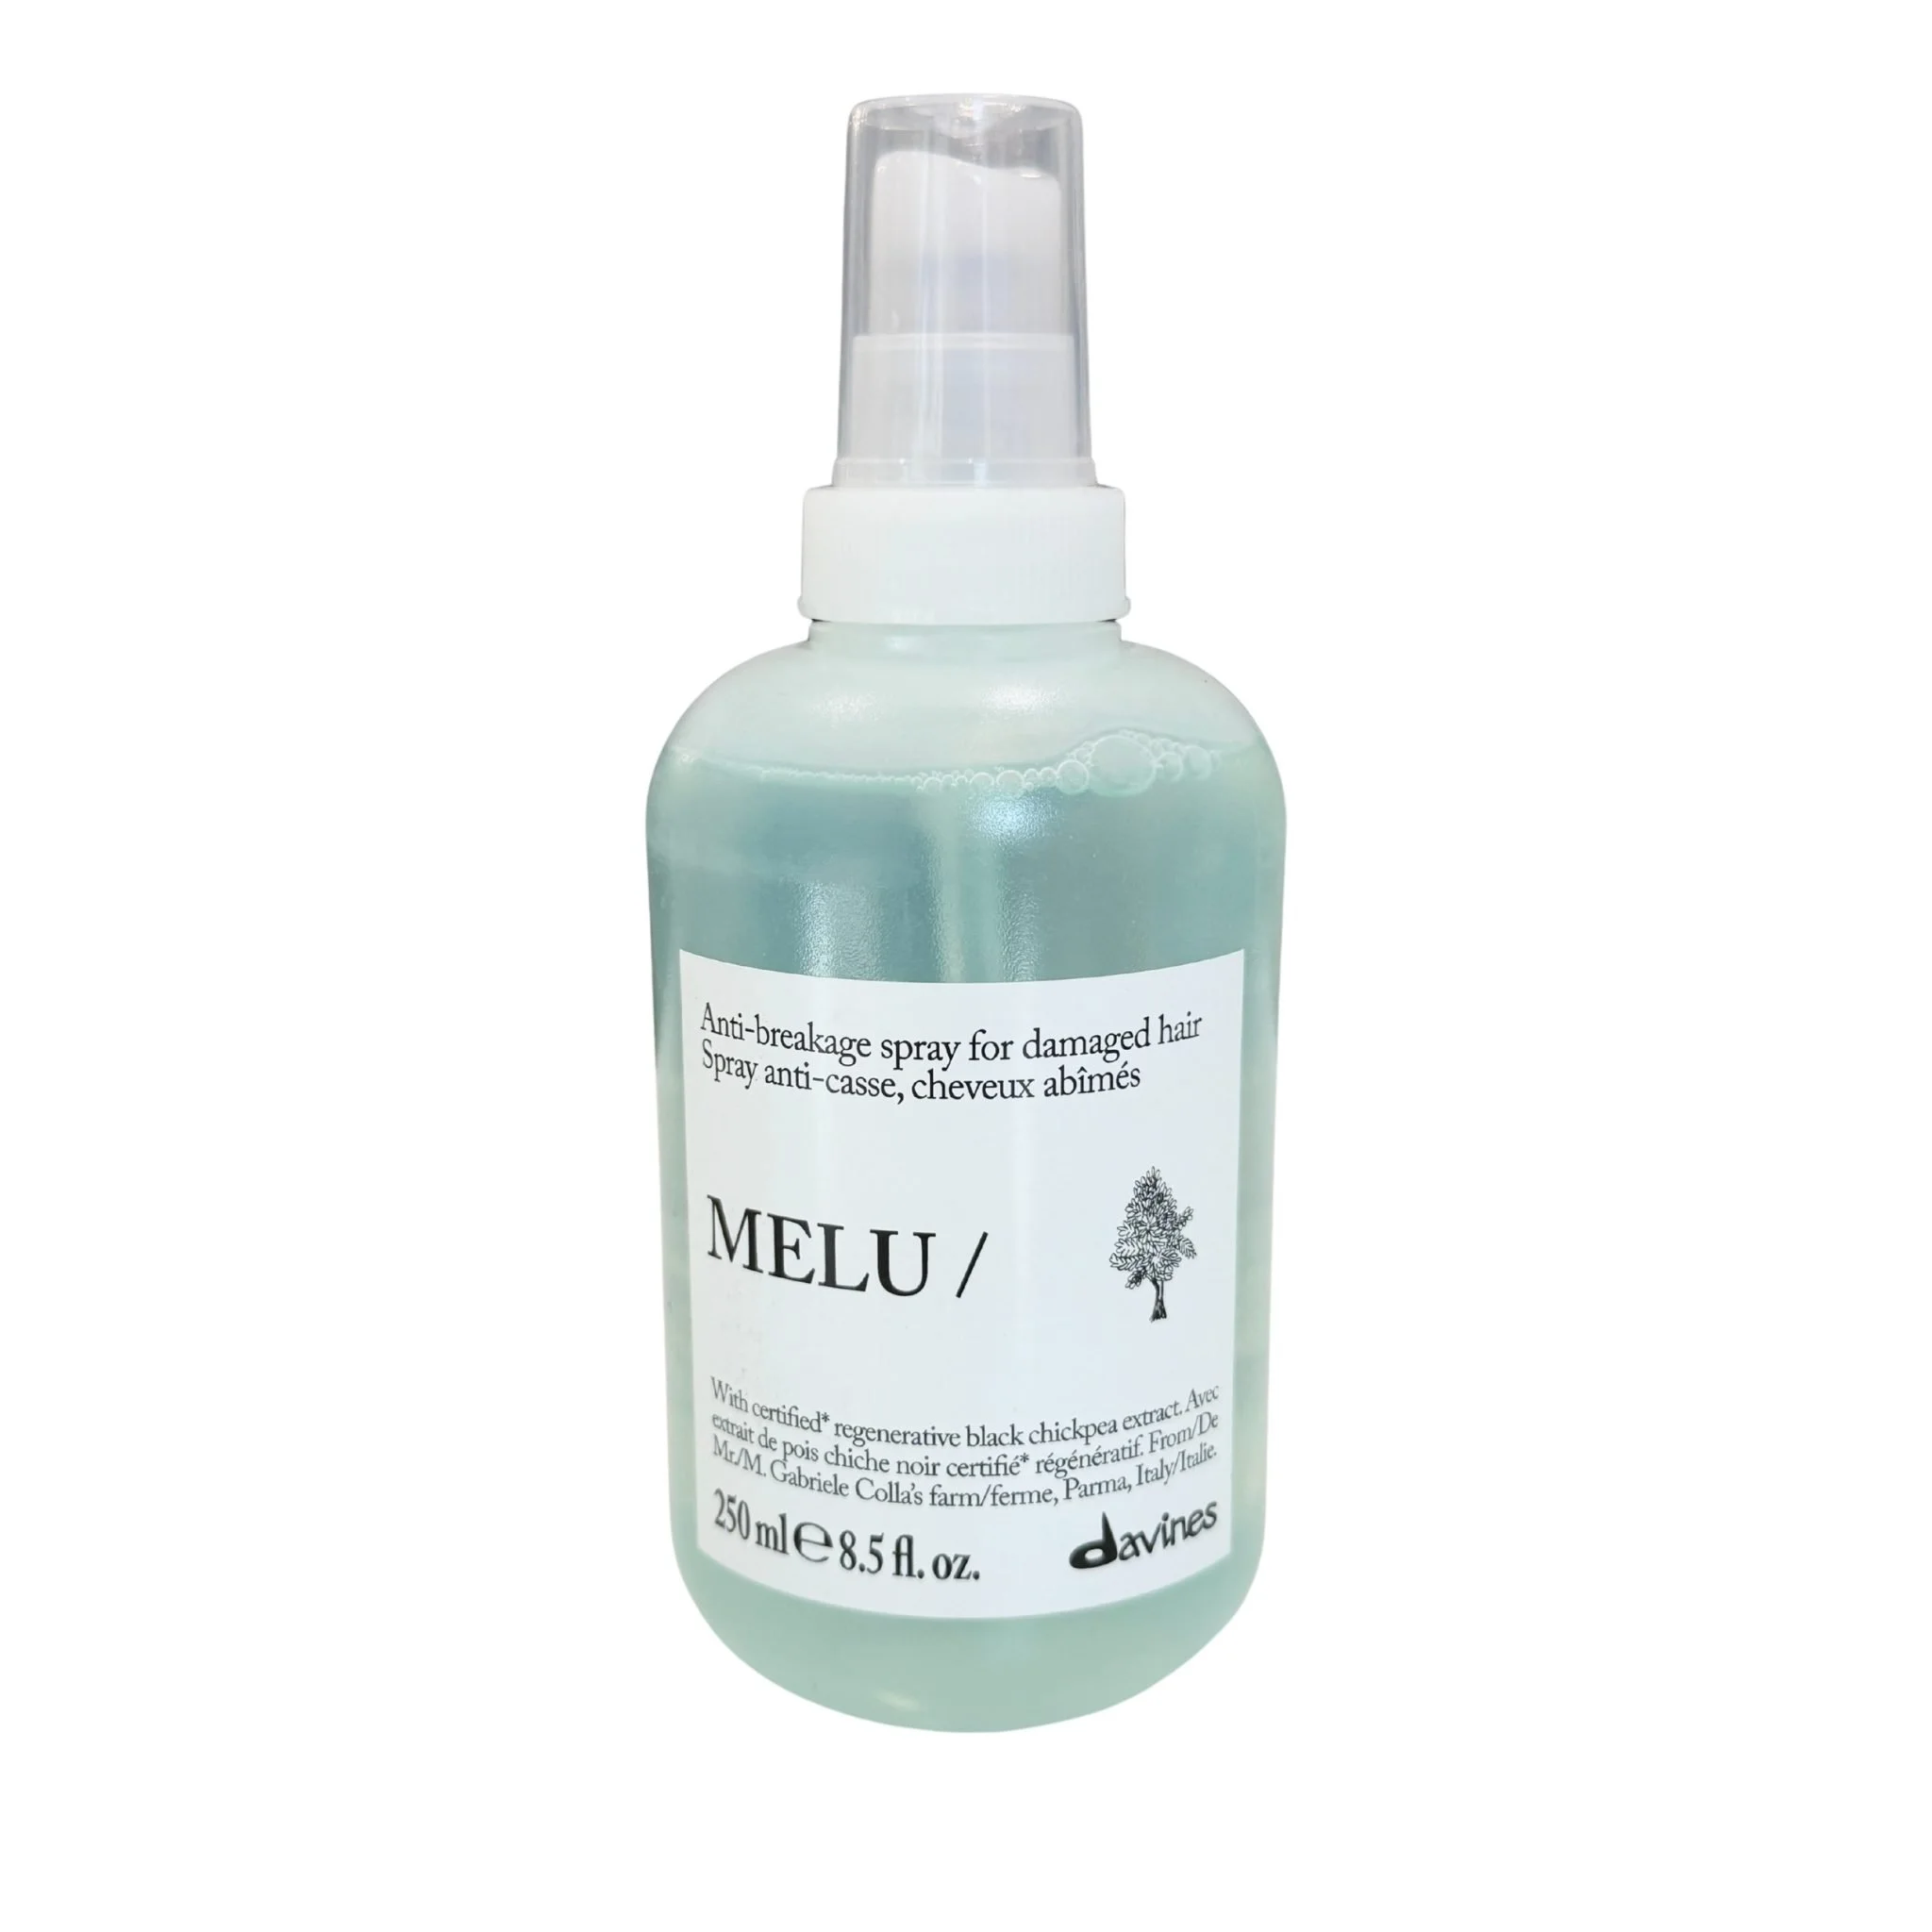
Davines - Essential Haircare - Melu
250ml
Anti-breakage spray for damaged hair.
Lightweight anti-breakage spray for long or damaged hair. This leave-in spray reinforces hair fibers and shields strands from environmental pollutants, preventing dullness. With regenerative black chickpea extract, it has polysaccharides that helps prevent breakage and antioxidants to preserve hair’s structure. Get healthier-looking, more manageable hair with improved shine. Reduces breakage by up to 33.7%* during brushing and protects from heat damage up 230°C (446°F), from styling with hot tools.
Protect your hair from heat damage when using a flat iron
As great as flat irons are, you want to be careful about heat damage when using them! Aside from using the correct temperature, using a heat protecting product in your hair before you do any heat styling is a great idea. Some dual-purpose products have heat protection built in, such as Davines OI All In One Milk and Kevin Murphy’s KILLER CURLS. You can also get specific products to protect your hair from heat damage, such as Davines MELU Hair Shield and Kevin Murphy’s HEATED DEFENSE.